Note: this article pertains to Intel-based PCs.
If you saw our introduction article to Wi-Fi 6E, you'll see we included links to Wi-Fi 6E wireless cards for your PC. Upgrading your laptop's wireless card is a pretty easy PC upgrade. In this guide we're using the Intel Wi-Fi 6E AX210 wireless adapter.
Before you open up your computer, make sure to download the latest drivers for Intel Wireless Adapters, and keep the file on your desktop. You need to fully power off your laptop before making any hardware changes. Depending on your device, you shouldn't need anything other than a Phillips-Head screwdriver and your new Wi-Fi 6E adapter.
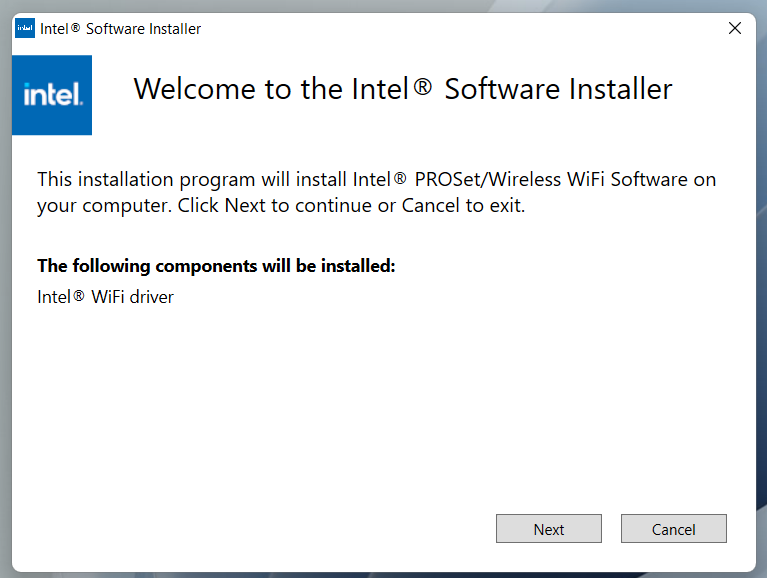
After successfully replacing your old wireless card with your new one, power on your PC. Locate the Intel Wireless Adapter driver install file and run it. Follow the instructions to complete installation.
Once you've successfully installed the necessary drivers, restart your computer.
Note: if your PC is running Windows 11, the 6 GHz band should be working as soon you restart your computer after installing the necessary drivers. You can stop here.
Continue with the following steps only if your device is running Windows 10.
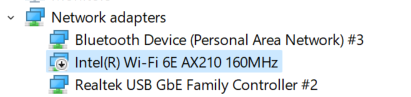
Next, after logging back in, open the Device Manager in Windows and verify that your new wireless card is listed under "Network adapters" as shown here:
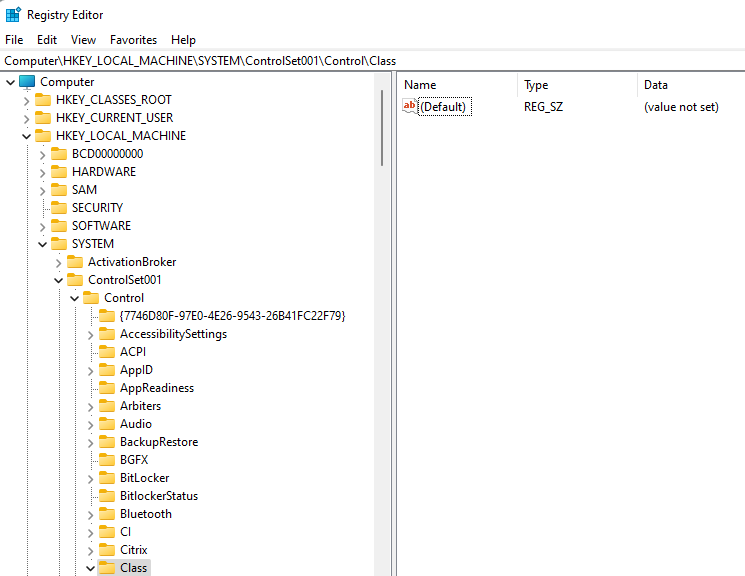
Now, in order for your device to recognize and connect to 6 GHz networks, you'll have to make a change to Windows Registry. To do so, open the Registry Editor in Windows.

In Registry Editor, you'll want to navigate to HKEY_LOCAL_MACHINE, then to SYSTEM, then ControlSet001 (or simply ControlSet depending on your computer) and then Class.
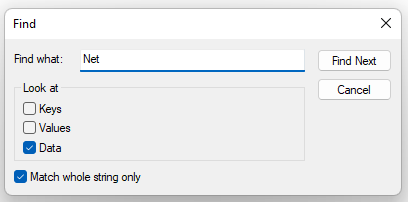
Now, you need to find the key that contains the Class "Net". Open up the Find dialogue by clicking Ctrl+F. In this window, type "Net" in the field and check only the the Data checkbox and the Match whole string only checkbox. Click "Find Next".
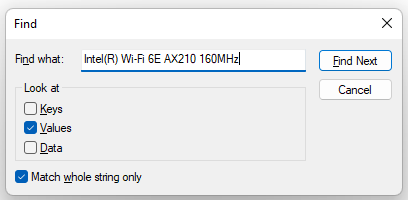
In this Class folder you will find a list of folders that begin with "000". To find the correct folder, once again open up the Find dialogue (Ctrl+F) and this time only click the Value checkbox. Then type "Intel(R) Wi-Fi 6E AX210 160MHz" (without quotation marks) and click Find Next.
In this folder, right click and select New -> DWORD (32-bit) Value
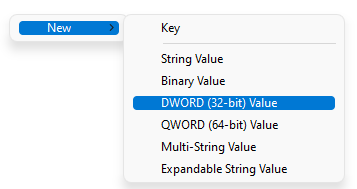
and enter the text "Is6GhzBandSupported" exactly as written (without quotation marks). Right click on your new entry and select "Modify", and change the Value data to 1 and press OK.
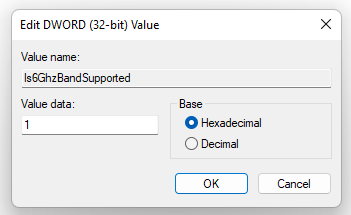
Once finished, you should see your new DWORD key as shown below:

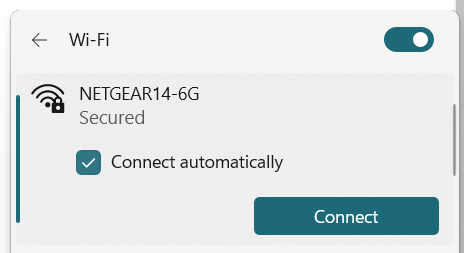
Finally, exit the Registry Editor and restart your computer. Your laptop should now be able to find and connect to 6 GHz networks.