Download and Install WiFi Scanner
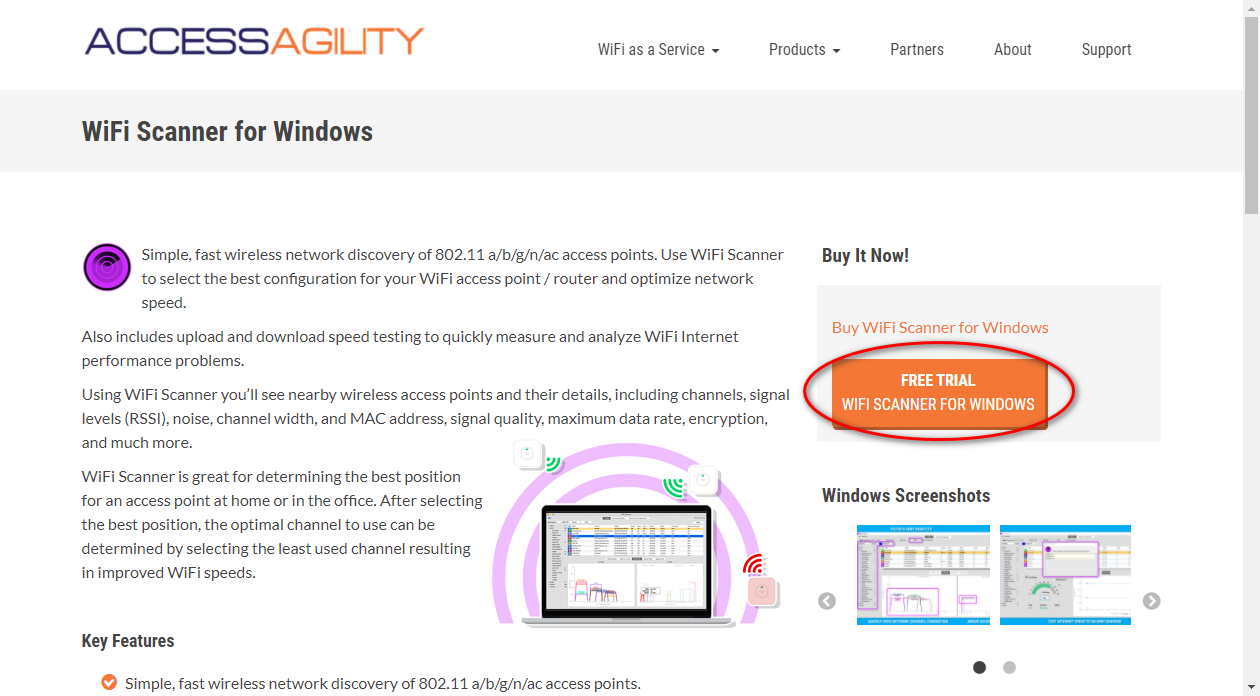
To download WiFi Scanner, go to https://www.accessagility.com/wifi-scanner-windows and either buy the full featured version, or click the button to download the free trial.
The free trial version will allow full functionality of WiFi Scanner for 7 days. After, there will be options to purchase a license for future use.
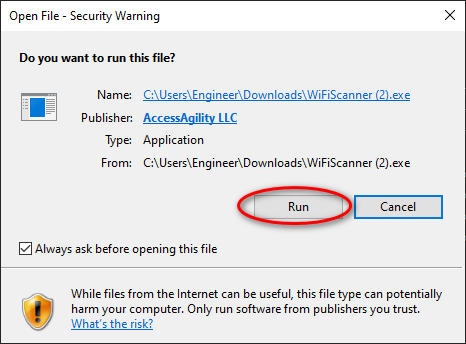
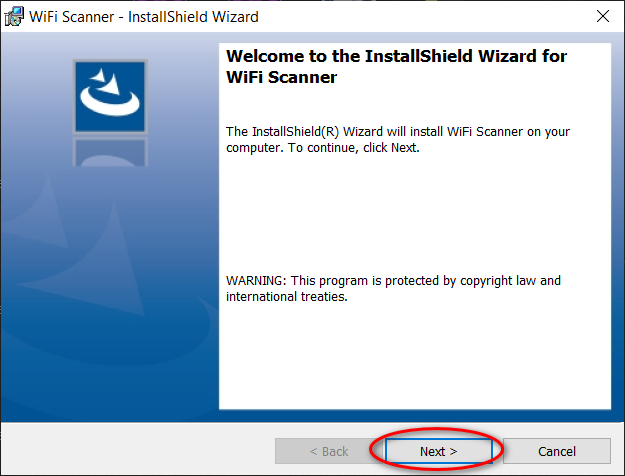
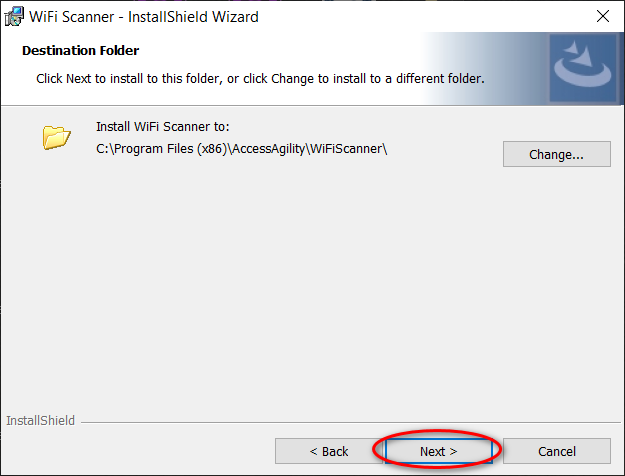
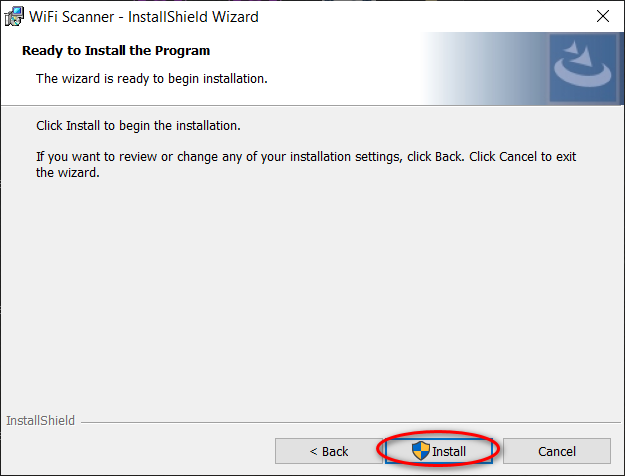
After choosing an option to download WiFi Scanner, click the downloaded .exe file and follow the on screen prompts to complete the installation.

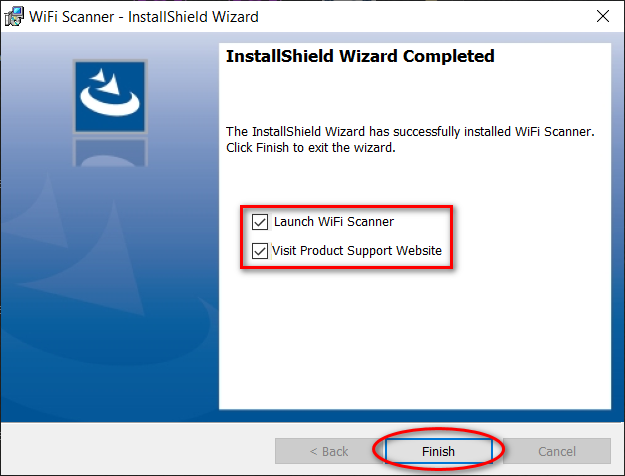
Once these steps are complete, WiFi Scanner will launch and users may also visit the support website to learn more about WiFi Scanner and how to use the various functions and tools it provides.
Performance Data
Please follow these steps to run performance tests on your WiFi.
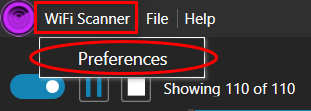
Click ‘WiFi Scanner’ in the top left corner of the application, then click ‘Preferences’.
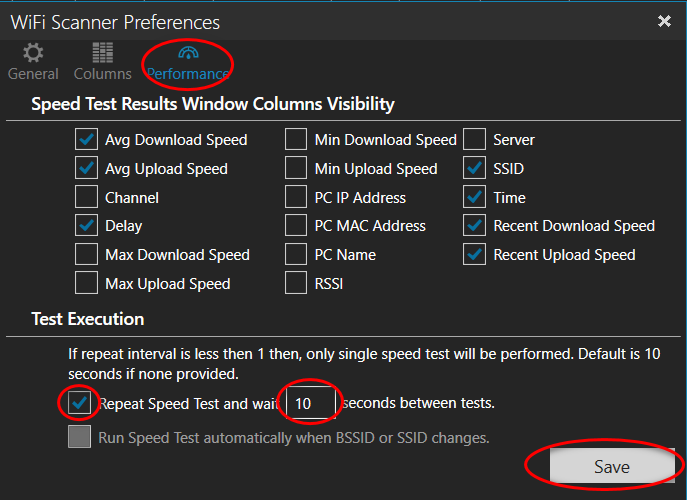
Go to the ‘Performance’ tab. Here, under ‘Test Execution’ set parameters below.
- Check the box next to ‘Repeat Speed Test and wait’
- Enter 10 in the box to the left of ‘seconds between tests’
- Click Save
Once this is completed, allow WiFi Scanner to run for at least 5-10 minutes. You will see data populate in the ‘Performance’ tab of WiFi Scanner.
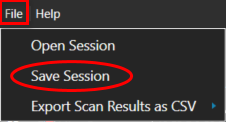
Save Session
In the top left corner of the application, click ‘File’ and then ‘Save Session’. Save the file somewhere you will remember.
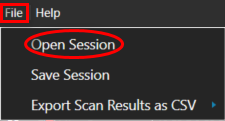
Open Session File
After saving a session, open the session by clicking 'File' then 'Open Session'. Navigate the session file you just saved and make sure it opens in WiFi Scanner.
Send Session File
Once all of these steps are complete, send the session file to support@accessagility.com for analysis.